
Castling is the one move that shifts two of your pieces at once: the king slides two squares toward a rook, and that rook jumps to the king’s other side. You may castle only if neither the king nor the chosen rook has moved, the squares between them are empty, and your king is not moving through or into check.
It is the single best way to make your king safe early, yet many beginners never learn the exact conditions and end up unable to castle at the worst moment. This guide covers both types and every rule.

What Castling Does
Castling solves two problems in one move. It tucks the king away from the center, where most attacks land, while bringing a rook toward the middle where it becomes active.
There are two versions. Kingside castling (also written O-O) uses the rook nearer the king and is quick to set up. Queenside castling (O-O-O) uses the far rook and takes one extra move to prepare because there is more space to clear.
Both count as a single move even though two pieces travel. You always touch the king first if you are playing over the board, or the arbiter may rule you intended a king move only.
This is a strict rule in tournament play. Touching the rook first can oblige you to move only the rook, costing you the castle entirely, so build the habit of moving the king two squares first and the rook second every single time.
How to Castle Kingside

Kingside castling is the more common choice because it usually takes fewer preparatory moves. Here is the sequence.
- Develop the knight and bishop on the kingside so the squares between king and rook are empty.
- Confirm the king and the kingside rook have never moved this game.
- Move the king two squares toward the rook, landing next to the corner.
- Jump the rook over the king to the square directly on the king’s other side.
For White, the king travels from e1 to g1 and the rook from h1 to f1. For Black, the king goes from e8 to g8 and the rook from h8 to f8. The king ends up nicely sheltered behind its pawns.
How to Castle Queenside
Queenside castling follows the same idea in the other direction, but there is an extra empty square to manage.
- Develop the queenside knight and bishop, and move the queen out of the way.
- Check that the king and queenside rook have not moved.
- Move the king two squares toward the queenside rook.
- Place the rook next to the king on its other side.
For White the king goes from e1 to c1 and the rook from a1 to d1. Note the rook passes over the b1 square, which must be empty, even though the king never lands there. The king only needs its own two squares clear and safe.
The Conditions You Must Meet
Castling is legal only when every condition below is true. Miss one and the move is not allowed.
| Condition | Must be true |
|---|---|
| King has moved | No — the king must be on its original square, never moved |
| Rook has moved | No — the chosen rook must never have moved |
| Squares between | Empty of all pieces |
| King in check | No — you cannot castle out of check |
| King passes through check | No — the squares the king crosses must be unattacked |
| King lands in check | No — the destination must be safe |
The rook is allowed to pass through an attacked square, and in queenside castling it may pass over a square that is not empty for the king, but the b-file square must still be clear of pieces. Only the king’s path and destination are subject to the check rules.
If your king has been forced to move even once — say, to escape a check earlier — you lose the right to castle permanently, on both sides. Guard that right early.
Common Castling Mistakes
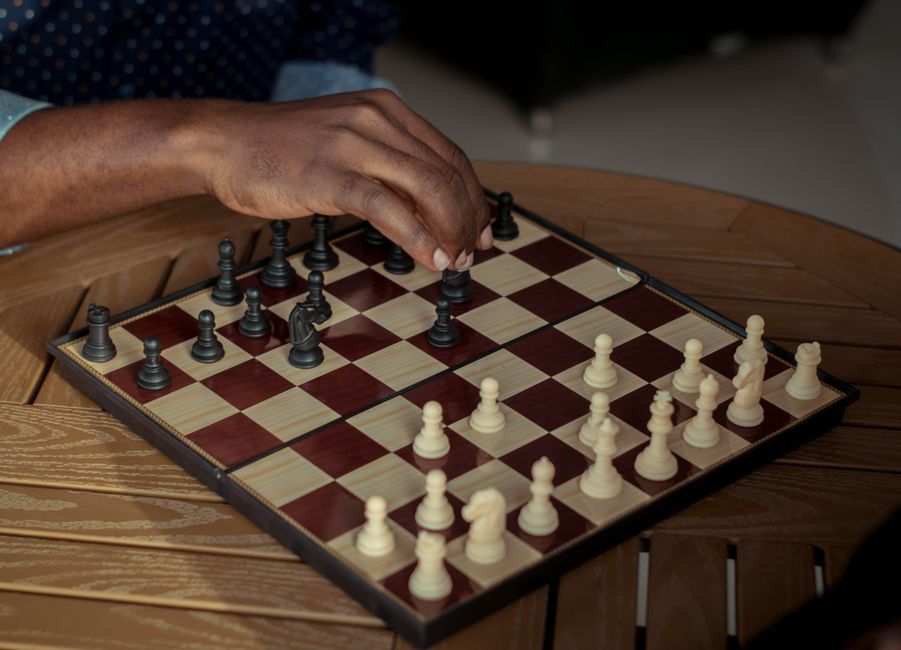
Beginners lose the ability to castle more often through carelessness than through attacks. Three habits cause most of it.
Moving the king to dodge a single check ends your castling rights forever, even if the king returns home. Look for a blocking piece or a capture before you shuffle the king.
Moving a rook to grab a pawn or defend a square kills castling on that side. If you may want to castle queenside, keep the a-rook still until you have committed.
Leaving the king in the center too long invites attacks down the open files that castling would have prevented. Aim to castle within the first ten moves in most games.
When Not to Castle Right Away
Castling early is a strong default, but it is not an absolute law. If your opponent has pointed pieces and pawns at the side where you plan to castle, castling into that storm can be worse than staying put.
Sometimes castling on the opposite wing from your opponent leads to sharp, exciting races where both players push pawns at each other’s kings. Other times, in quiet endgames with queens traded off, the king is safe in the center and castling wastes a move.
For your first hundred games, though, the simple rule holds: develop your minor pieces, then castle, usually kingside. The safety it buys is worth far more than the rare position where staying central pays off.
Putting It Into Practice
Set up a board and practice both castling moves until the hand motion is automatic — king two squares, rook to the other side. Then play a few games where your only goal is to castle by move ten.
Once castling feels natural, you will notice your kings surviving into the middlegame far more often, and your rooks joining the fight far sooner. It is a small rule with an outsized payoff.
One last habit worth building: after you castle, keep the pawns in front of your king mostly intact. Pushing those pawns forward creates holes an opponent can attack through, undoing the safety you just secured. Castle, then leave that pawn shield alone unless you have a concrete reason to move it. Mastering castling and the care that follows it is one of the clearest signs a beginner has become a real player.